we were given a spread in indesign to look at and try and find the 9 errors involved in the setup, colour, and images on the file.

5 ink job.
9 errors -
use the links pallete to check information on images and placed files.
1. one of the swatches was in rgb mode - changed to cmyk //
2. more colour swatches in pallette than needed - got rid of them. //
3. certain photo files jpeg format - woman with cow and bucket, 1st page. acceptable format in tiff and psd. // would have to resave it in photoshop as tiff n then relink in indesign so jpeg image is exchanged for tiff file.
4. one image is in rgb - crowd top right corner. // - right click > edit original (alt+double click on image) then go to mode>cmyk in photoshop.
5. over high ppi for one image - 600ppi - strolling cows logo 3rd page. // change in photoshop.
6. one image is low at 200ppi - pink girl with hat and cow, 3rd page.
7. scaled down image - 12.9% - cow with flower neck tie. // can scale up in photoshop but still will be low quality so better to get larger image sent and reattach to indesign file.
8. top ten logo - scaled up to 233.4% - means effective res is 129 dpi, too low for print. // alt+double click - open in photoshop then look at image size.
9. 3rd page website text in registration black - means its on every plate so all inks are printed on top and will look too thick and muddy brown black - ave to change the colour to the K black.
is harder to spot mistakes in a file that someone else has designed as opposed to your own work. when sending to the printer youve got to include all aspects of the file inc. images, fonts, any other placements etc. package duplicates the doccument inc. all images and fonts and packages them together. before it does this there is a summary to the doccument comes up - this shows most of the mistakes that are involved in the doccument. there is a quicker way to check for mistakes - file > package.

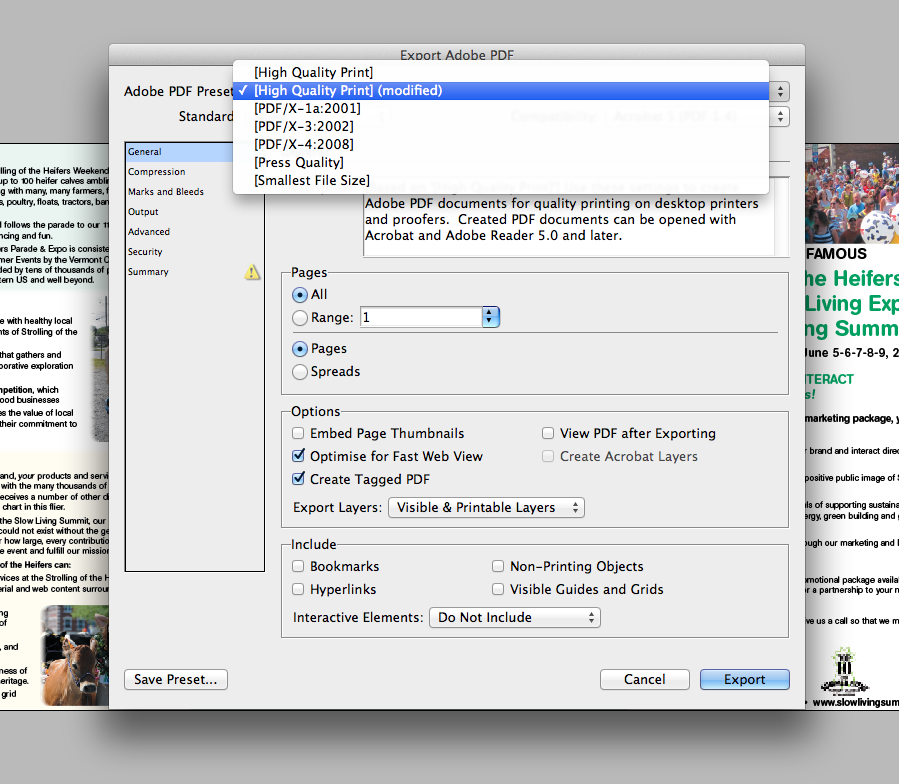
in pdf use press quality to get the best print quality. high quality is appropriate for proofs. smallest file size is great for on screen proofing.
No comments:
Post a Comment